
A bike shed or garden shed is a valuable addition to any outdoor space, providing storage and workspace for your bikes, gardening tools, equipment, and more. To ensure your shed stands the test of time and remains secure and stable, it's crucial to start with a solid foundation. In this DIY guide, we'll walk you through the steps to create a durable concrete base.
Tools:
-Wheelbarrow
-Shovel
-Wheelbarrow
-Level
-Wooden stakes
-String Measuring tape
-Hammer
-Screws
-Trowel Float
-Broom
Materials:
-Concrete mix
-Gravel
-Rebar (optional, for added reinforcement)
-Plastic sheeting (for curing the concrete)
- Step 1: Choose the Right Location Before you start digging, carefully select the location for your shed. Ensure it's level, away from trees and overhanging branches, and complies with any local building codes or regulations.
- Step 2: Measure and Mark the Area Measure the dimensions of your shed and mark the area accordingly. Use wooden stakes and string to create a perimeter that matches the size of your shed. Check that the corners form right angles to ensure your shed base will be square.
- Step 3: Excavate the Area Using a shovel, start digging within the marked perimeter. Aim for a depth of about 4 inches for the gravel layer, plus the thickness of the concrete pad you want. Remove any rocks, roots, or debris from the excavation area to ensure a smooth, even surface.
- Step 4: Create a Gravel Bed Once the excavation is complete, add a layer of gravel to the bottom of the hole. This will aid in drainage and provide a stable base for your concrete. Use a hand tamper or a rented mechanical compactor to level and compact the gravel.
- Step 5: Install Rebar (Optional) For added strength and reinforcement, you can install rebar within the excavated area. Create a grid pattern by laying rebar pieces in a crisscross fashion about 2 feet apart. Secure them in place using wire ties or rebar chairs.
- Step 6: Build a Form Next, build a wooden form around the perimeter of your excavation area. This form will contain the concrete as it cures. Make sure the form is level and square by using a level and measuring tape. Secure it in place with screws or stake.
- Step 7: Mix and Pour Concrete Follow the instructions on your concrete mix to prepare it in a wheelbarrow. Generally, you'll add water and mix until you achieve a thick, but workable consistency. Pour the concrete into the form, spreading it evenly with a trowel.
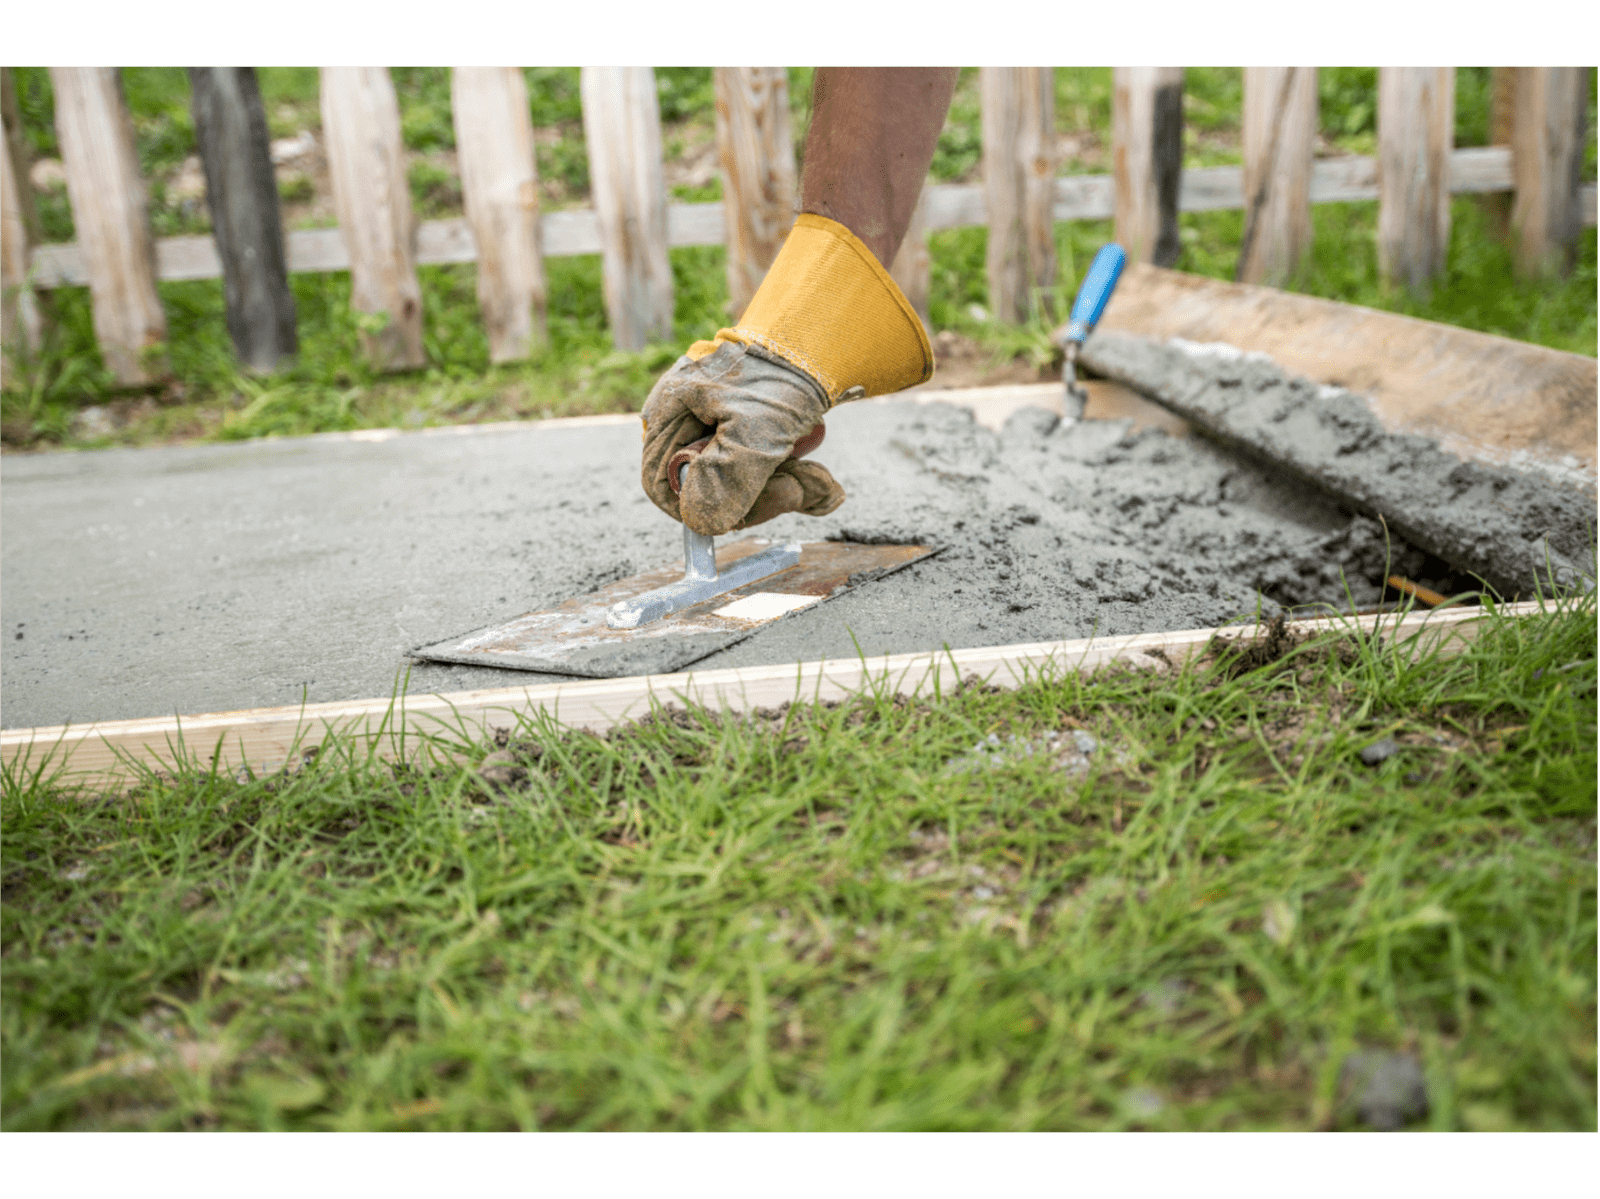
- Step 8: Level and Smooth Using a float, smooth the surface of the concrete while it's still wet. Check that it's level and slopes slightly away from the shed to promote drainage. Allow the concrete to set for a short while, and then use a broom to create a textured finish on the surface.
- Step 9: Cure the Concrete Cover the freshly poured concrete with plastic sheeting to keep it moist during the curing process. This will help prevent cracking. Leave it to cure for at least 48 hours, or as per the manufacturer's instructions.
- Step 10: Remove the Form Once the concrete has fully cured, carefully remove the wooden form. Be gentle to avoid damaging the edges of the concrete.
- Step 11: Place Your Garden Shed With your concrete base ready, you can now assemble and place your garden shed on top. Follow the manufacturer's instructions for shed assembly, and anchor it securely to the concrete base.
Building a concrete base for your garden shed is a DIY project that can greatly enhance the stability and longevity of your outdoor storage space.By following these steps and paying attention to detail, you can create a solid foundation that will serve your gardening and storage needs for years to come.
Enjoy your new garden shed and organised outdoor space!